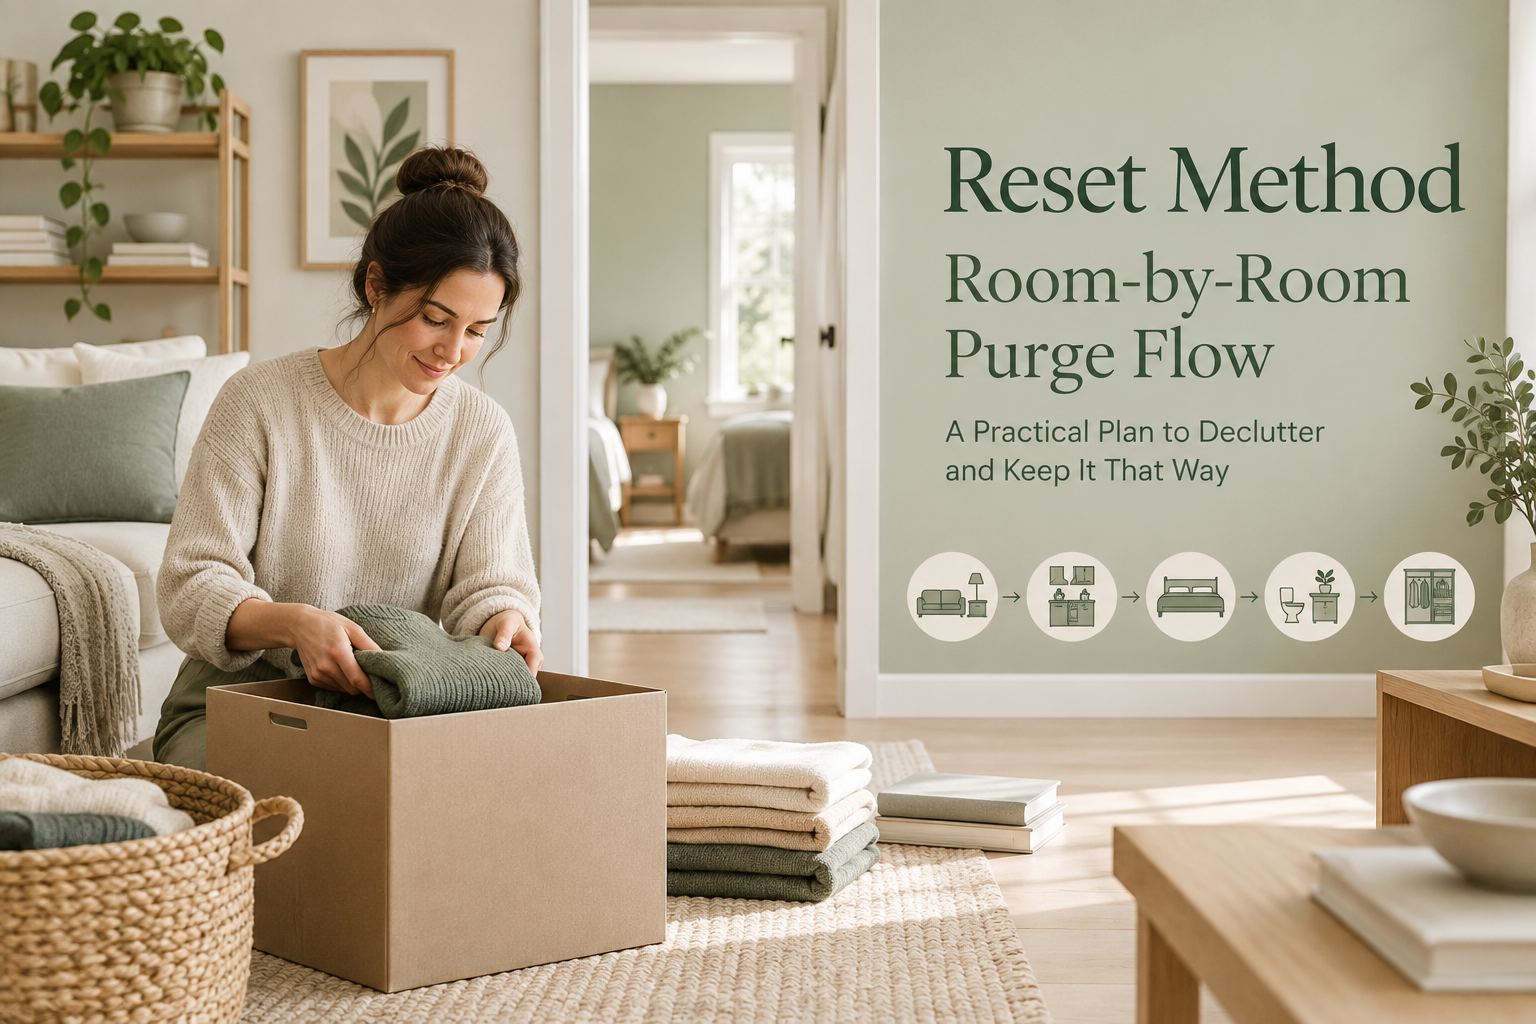
Quick answer: The RESET Method room-by-room purge flow is a short, repeatable sequence you use in every room: preflight, staging, one-surface purge, container sweep, category runs, decision loop (Keep / Donate / Trash / Relocate / Store), quick triage, and reset. Timebox each stage (15–60 minutes per room), use consistent decision rules, and finish with a 10-minute weekly reset to keep results.
Why a room-by-room purge flow works
Most decluttering attempts stall because they start without a plan or try to fix everything at once. A room-by-room purge flow breaks the work into predictable, repeatable steps so you can get visible wins in a single session and keep momentum. It’s built for busy people who need structure more than inspiration.
What to do first: a 30-minute preflight
- Gather supplies: three boxes or bins labeled KEEP, DONATE, TRASH, plus a notepad, timer, trash bags, and a box for RELOCATE (items that belong elsewhere).
- Set decision rules: choose your criteria (see Decision framework below) so choices stay fast.
- Set a timer: commit to a fixed session length so you don’t burn out—start with 30–60 minutes per room; shorter sessions (15–30 minutes) work well too.
Room-by-room purge flow (step-by-step)
- Staging area: Pick a spot near the room door to collect boxes and items so the room stays clear while you work.
- One-surface purge: Clear the most visible surface first (countertop, table, dresser). Apply the decision loop to every item.
- Container sweep: Open every drawer, bin, and basket. Take contents out quickly and apply the decision loop.
- Category runs: Group like items (papers, cables, tools, textiles) and decide by category when helpful.
- Quick triage: Put RELOCATE items in their box; move DONATE and TRASH boxes out of the room immediately after the session.
- Reset: Return kept items intentionally — place like with like, label if helpful, and clear the staging area.
Decision framework: the simple rules to follow
Apply these five decisions consistently while purging. If you can’t decide, default to the option that reduces friction (often RELOCATE or DONATE).
- Keep — You use it regularly, it supports a current role or hobby, or it brings clear joy and has a defined place.
- Donate — It’s in good condition, you don’t need it, and someone else can use it.
- Trash — Broken, expired, or permanently stained items that cannot be reasonably repaired or donated.
- Relocate — Belongs in another room or storage location; move it now to its correct zone.
- Store — Seasonal or archived items you will actually retrieve; label and place in a clear container in a designated storage zone.
Concrete decision examples
- Old phone case: Donate if functional and clean; Trash if cracked and non-repairable; Recycle through e-waste collection if it contains electronic parts.
- Expired medications: Do not put in the household trash — follow safe disposal guidance below.
- Single mismatched sock: Keep if you use it for rags or have a matching plan; otherwise Trash or repurpose into rags.
Concrete timeboxed plan you can start today
- Day 1 (30–60 min): Kitchen surfaces and one cabinet.
- Day 2 (30–60 min): Entryway and coat storage.
- Day 3 (30–60 min): Living room surfaces and media storage.
- Day 4 (30–60 min): Bedroom dresser and nightstand.
- Day 5 (30–60 min): Bathroom vanity and medicine cabinet.
- Days 6–30: Continue room rotations and complete category runs (papers, clothes, kids’ toys). Use the 10-minute weekly reset after the first month to maintain progress.
Practical checklist (print or follow on your phone)
- Gather supplies and set a timer.
- Clear a staging area and label bins: KEEP, DONATE, TRASH, RELOCATE, STORE.
- Follow one-surface purge, then container sweep, then category runs.
- Apply the Decision Framework to every item.
- Put RELOCATE items away immediately; remove DONATE/TRASH from the home that day or schedule pickup/drop-off.
- Return kept items logically and label containers where helpful.
- Do a 10-minute weekly reset and a 30-minute monthly check.
Safe disposal and regulated waste — what NOT to toss in the regular trash
Certain items need special handling. Do not put these in your regular trash or recycling bin unless local rules explicitly allow it:
- Medications: Many pharmacies and police stations offer take-back programs. If no take-back is available, follow your local guidelines—do not flush medications down the toilet unless instructed by local authorities.
- Batteries and e-waste: Rechargeable batteries, lithium batteries, old phones, tablets, and chargers typically need to go to an electronics recycling or collection event.
- Fluorescent bulbs, solvents, paints, pesticides: These are household hazardous waste (HHW) and must be handled at HHW collection sites or through scheduled pickups.
- Sharps (needles): Place in approved sharps containers and use designated drop-off locations or mail-back programs where available.
If you’re unsure where to take an item, contact your local municipal waste management, health department, or search for "household hazardous waste" plus your city to find guidance and collection sites. When in doubt, err on the side of safer, regulated disposal rather than the regular trash.
Donation and removal logistics
- Prepare donations: clean, pack, and separate items by type (clothes, books, household goods) to speed drop-off.
- Check acceptance rules: some charities won’t accept damaged items, car seats, or recalled goods—call or check their website first.
- Schedule pickups or drop-offs the same day or within a few days so donated items don’t linger at home and re-clutter.
Alt-text suggestion for images: "Staging area with labeled KEEP, DONATE, TRASH bins and a timer on a table."
Accessibility variants and support
If mobility, stamina, or cognitive load is a concern, adapt the flow:
- Seated sorting: work from a table or bed and keep bins within reach rather than bending or standing long periods.
- Smaller timeboxes: use 10–15 minute sessions with clear breaks and a checklist of 3–5 tasks per session.
- Use helpers: ask a friend, family member, or professional organizer to assist with lifting, decision momentum, or carrying donations.
- Write aloud or use voice memos to capture decisions if focusing on paperwork or lists is difficult.
When to consult professional help
If clutter is severe, causes safety risks, or is tied to persistent emotional distress, consider reaching out to a licensed mental health professional, your primary care provider, or local support groups specializing in hoarding or chronic disorganization. Professionals can help with underlying issues and connect you with safe removal services. For immediate safety risks (blocked exits, mold, pests), contact local health or building authorities.
Common mistakes and how to avoid them
- Starting without a staging area: You’ll end with piles—set a clear spot for boxes before you begin.
- Not timeboxing: Sessions drag—use timers to force decisions and preserve energy.
- Organizing before purging: Don’t buy bins or label drawers until you’ve removed items you don’t need.
- Letting donations linger: Schedule drop-off or pickup immediately so donated items don’t return to the house.
Maintenance: how to keep a room feeling reset
- Daily 5 minutes: Quick surface sweep—put away out-of-place items.
- Weekly 10 minutes: Address mail/papers, spot vacuum, and return RELOCATE items.
- Monthly 30 minutes: Inspect a problem zone and apply the purge flow.
- Seasonal check: Clothes and shoes—donate items you didn’t wear in the last season.
Next step: free starter kit
If you want a ready-made 30-day plan with printable checklists, timers, room-by-room prompts, and simple templates, download the 30-Day Home RESET Starter Kit. Download requires an email signup to receive the PDF; you’ll also receive occasional tips and updates by email and can unsubscribe at any time. We won’t share your personal information with third parties for marketing.
FAQ
- How long should a room session be? Start with 30–60 minutes. Short, consistent sessions beat rare marathon days.
- What if I’m emotionally attached to many things? Use the Decision Framework: ask when you last used it, whether it serves a current role, and whether it has a designated place. If undecided, place items in a labeled "Maybe" box and review in 30 days.
- How do I handle paper piles? Sort into ACTION, FILE, SHRED, and REFERENCE. Limit paper sessions to 20–30 minutes until the backlog is under control.
- Can I do this with kids? Yes. Give kids a small, timed job (toy sort, donate pile) and keep expectations age-appropriate. Use clear bins and short decision rules.
Tip: The biggest progress comes from consistent small actions. A clear 30-minute session five days in a row beats a chaotic all-day purge once a month.
Ready to get started? Grab the 30-Day Home RESET Starter Kit for room-by-room checklists, timers, and printable prompts you can use today.
